Creating a ship painting from A-Z - Part 2
Developing the Colors of the Ocean and Deciding on the Composition
Fixing mistakes
Normally the first thing that I do (after gathering the reference material for the painting) is to decide on the colors and then jump in to the painting of the piece. I normally keep repeating what I know. For instance, I always use the same paints, always. This wasn't "always" the case in the past. I sometimes would skimp because I buy a lot of paint and good paint is expensive. Bad paint has no pigment :(
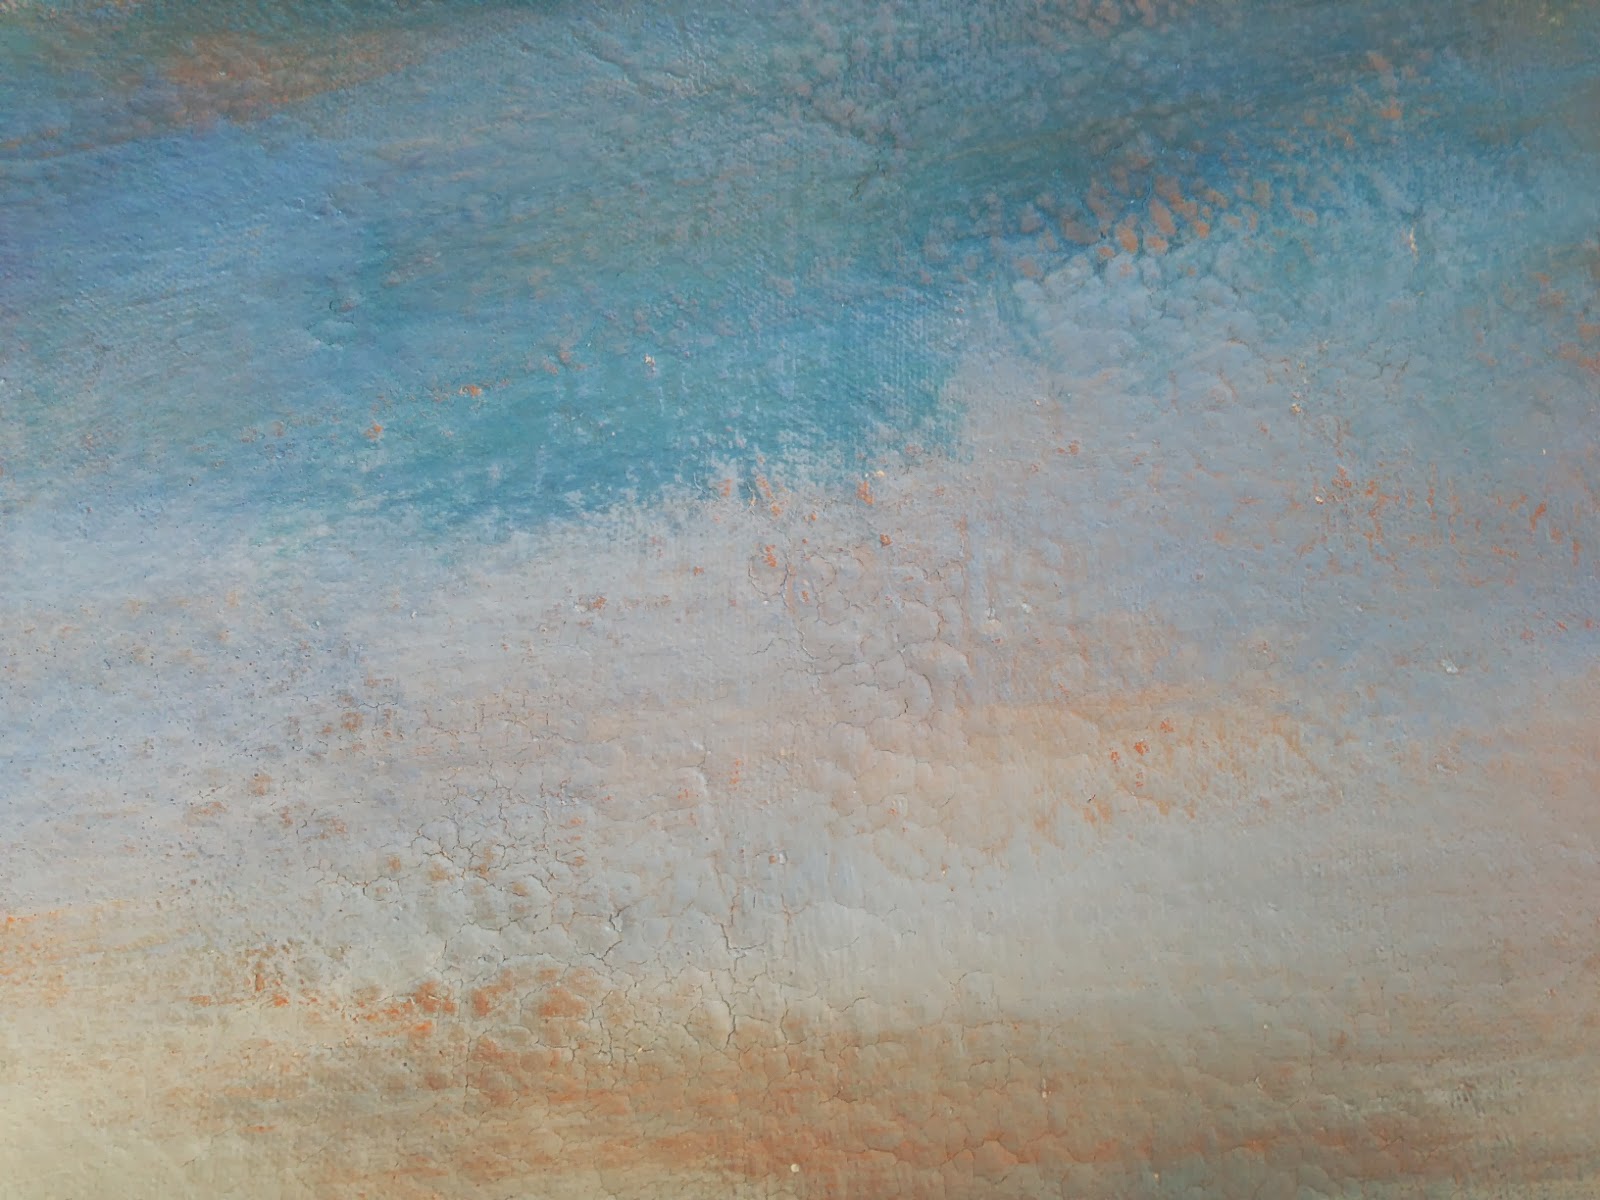
I normally start with the water and work my way up. I think that this is backward (because your arm gets into the wet paint), but I like the instant gratification of seeing the ocean form before my eyes. The top picture (A) shows the first coat of paint. It also reveals a VERY BIG MISTAKE. Water line goes down on the left side. This becomes a serious problem if you try to fix it later because the paints seldom 'blend' when you go back into the dry paint to fix it.
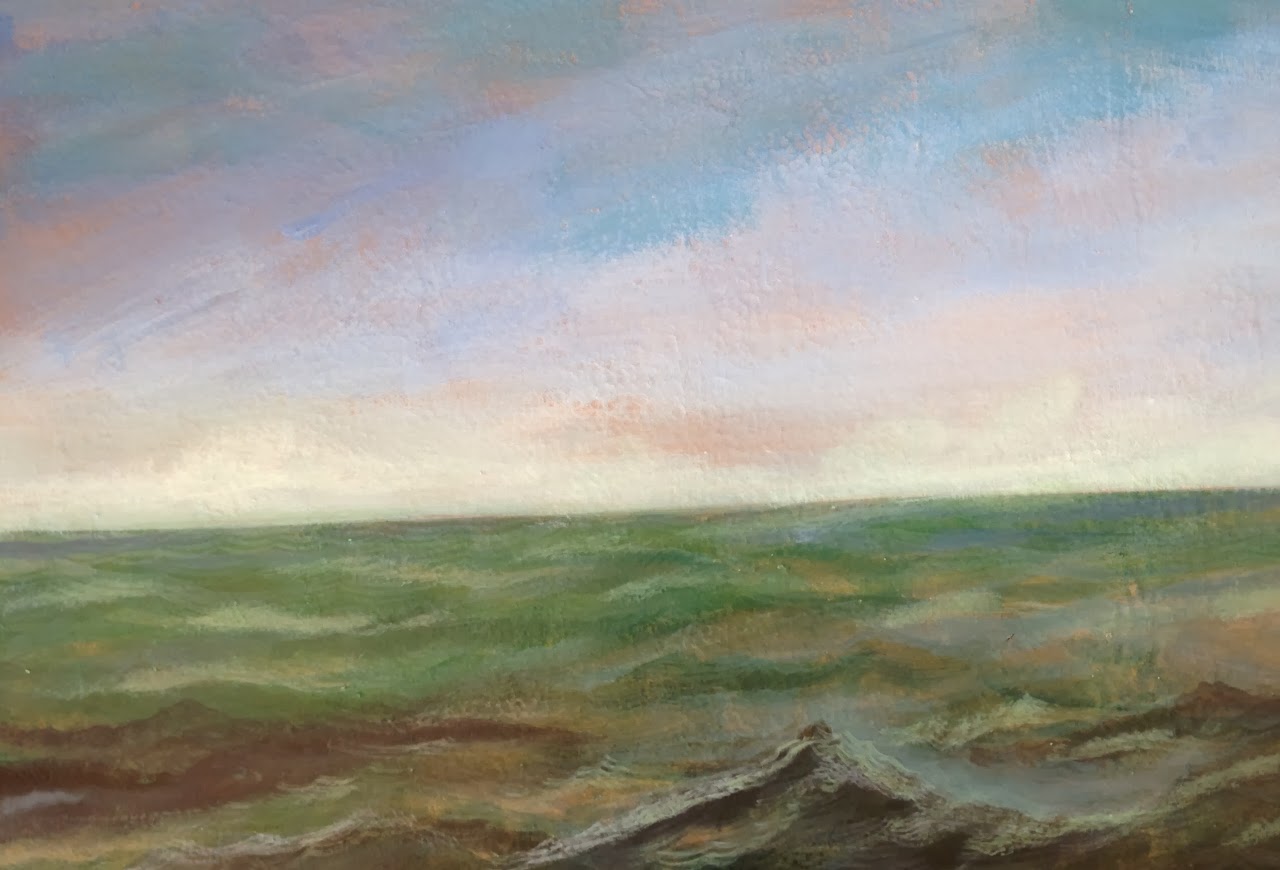 |
| (A) |
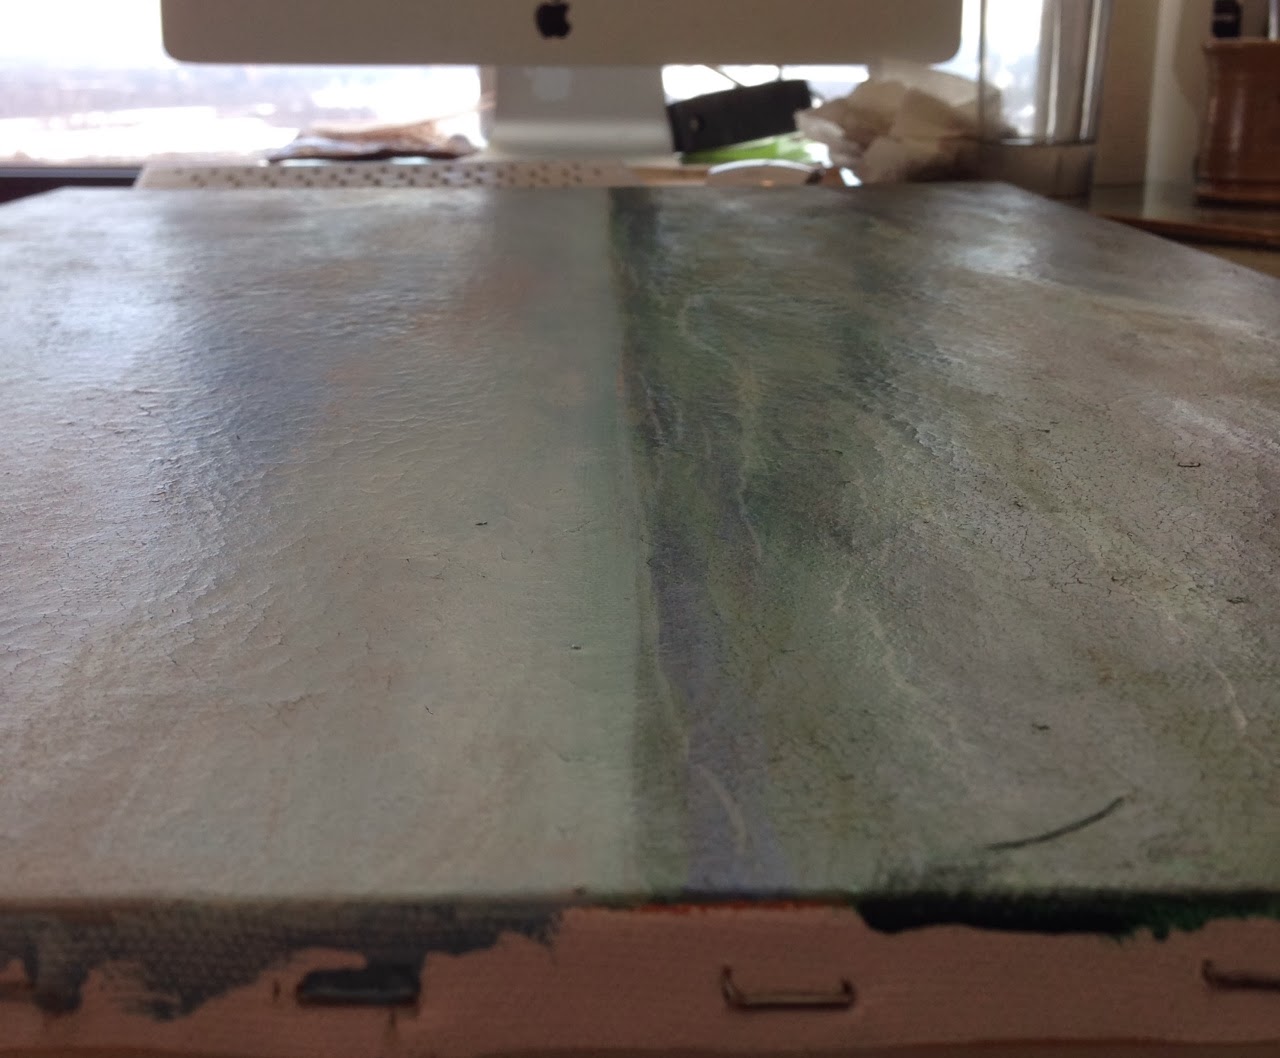 |
| (B) |
After this is fixed, it's time to start the composition of the piece. The water is no where near finished but if I continue working on the water, I will inevitably add details that will get covered up by the drape or the ship or the crest in the forefront. I don't have any time to waste. VERY BUSY!!! In fact, sometimes I think I am too busy for this blog. However, had I felt that way 20 years ago, I would have been too busy to paint.
Composition (C-1) shows the quick sketch that I penned on the back of an old piece of watercolor paper. It's no bigger than 4"x6" but it is my guide. It really helps to remind me where to keep the details and where not to waste my time and efforts.
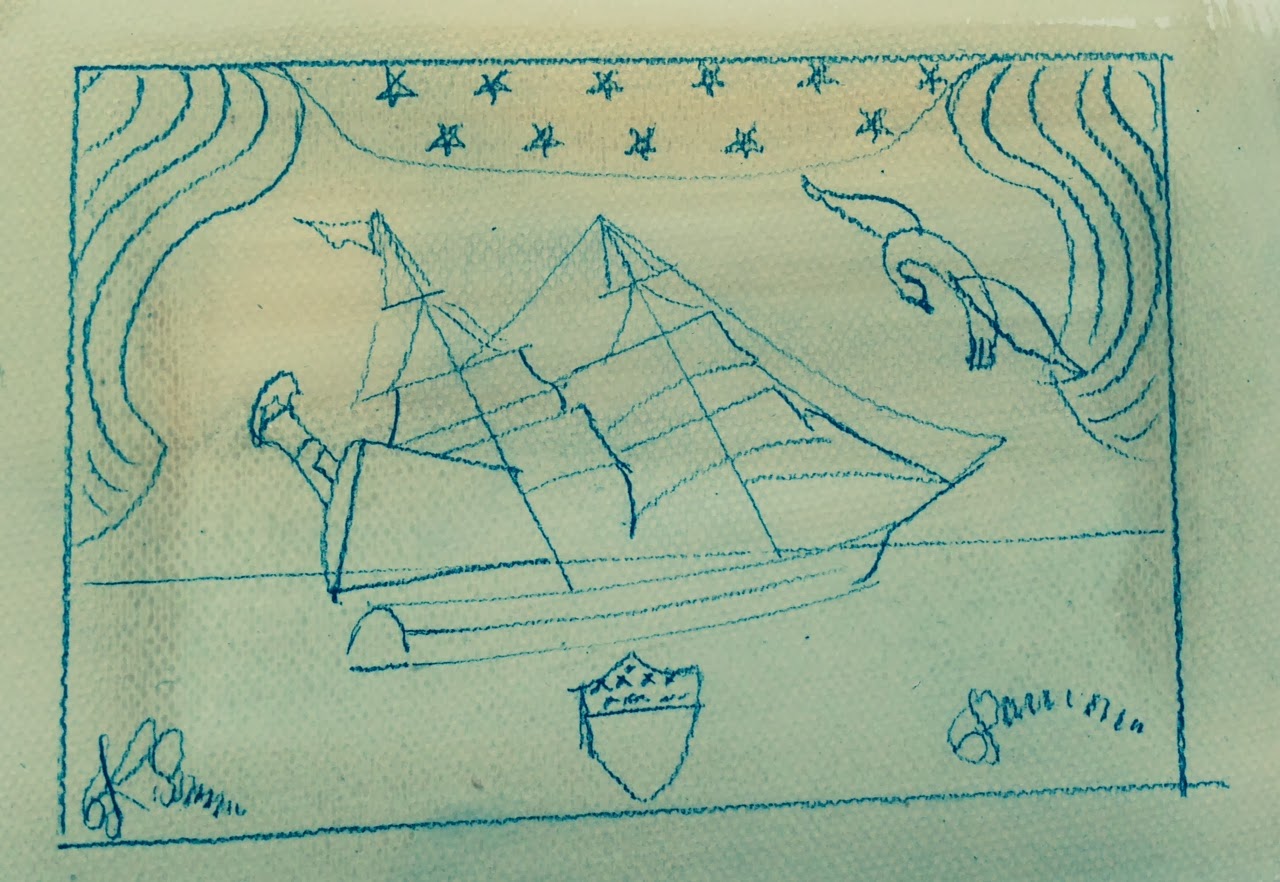 |
| (C-1) |
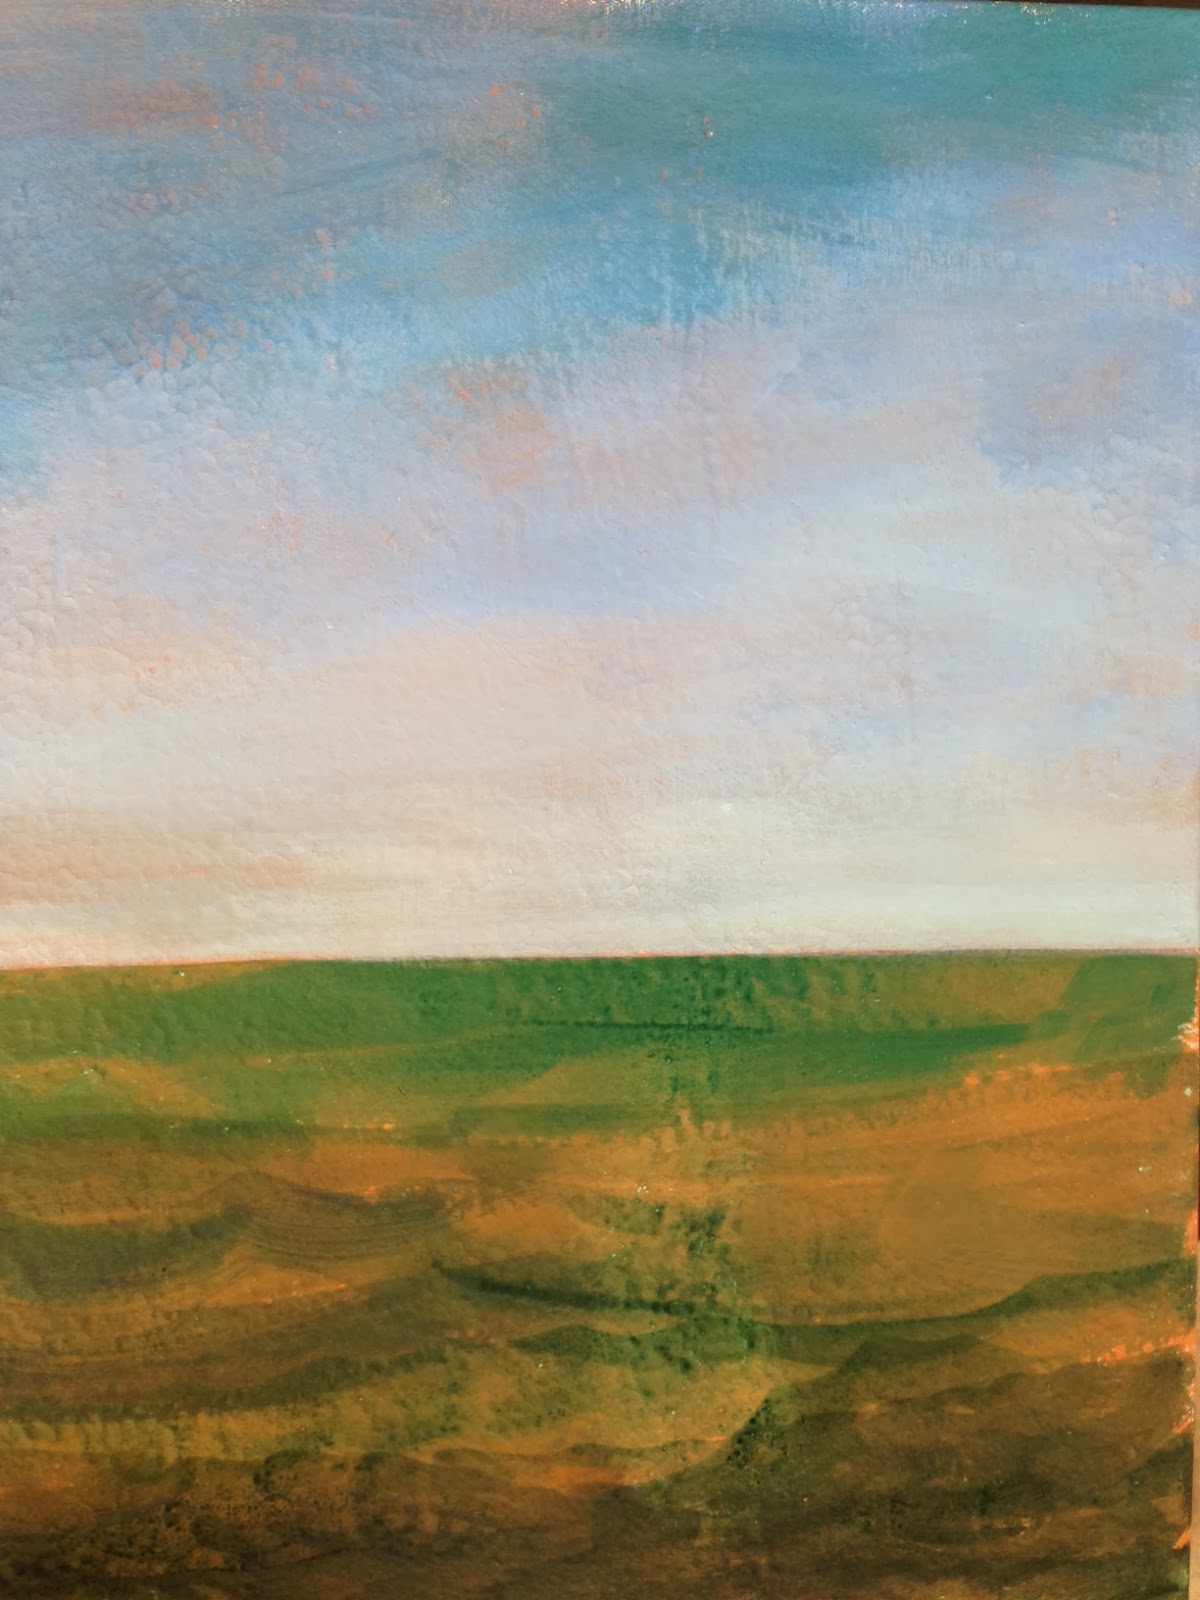 |
| (D) |
Water is always darker at the bottom of the canvas, and the sky is always darker at the top. That is what I believe based on looking out my window.
I am a "non-academic" artist. I went to secretary school. Correct me if I am wrong.
I wish that I had gone to art school. My sister did and she would always tell me what I was doing wrong-still does!! I love her!
Now my son is going to art school at Kutztown University. He corrects me, too. Aren't I lucky!
 |
| (E) |
As the hours tick on and I continue to paint, I build and build upon the layers adding color upon color. Slowly but surely, the painting starts to develop depth and loose the warmth without losing the undertones.
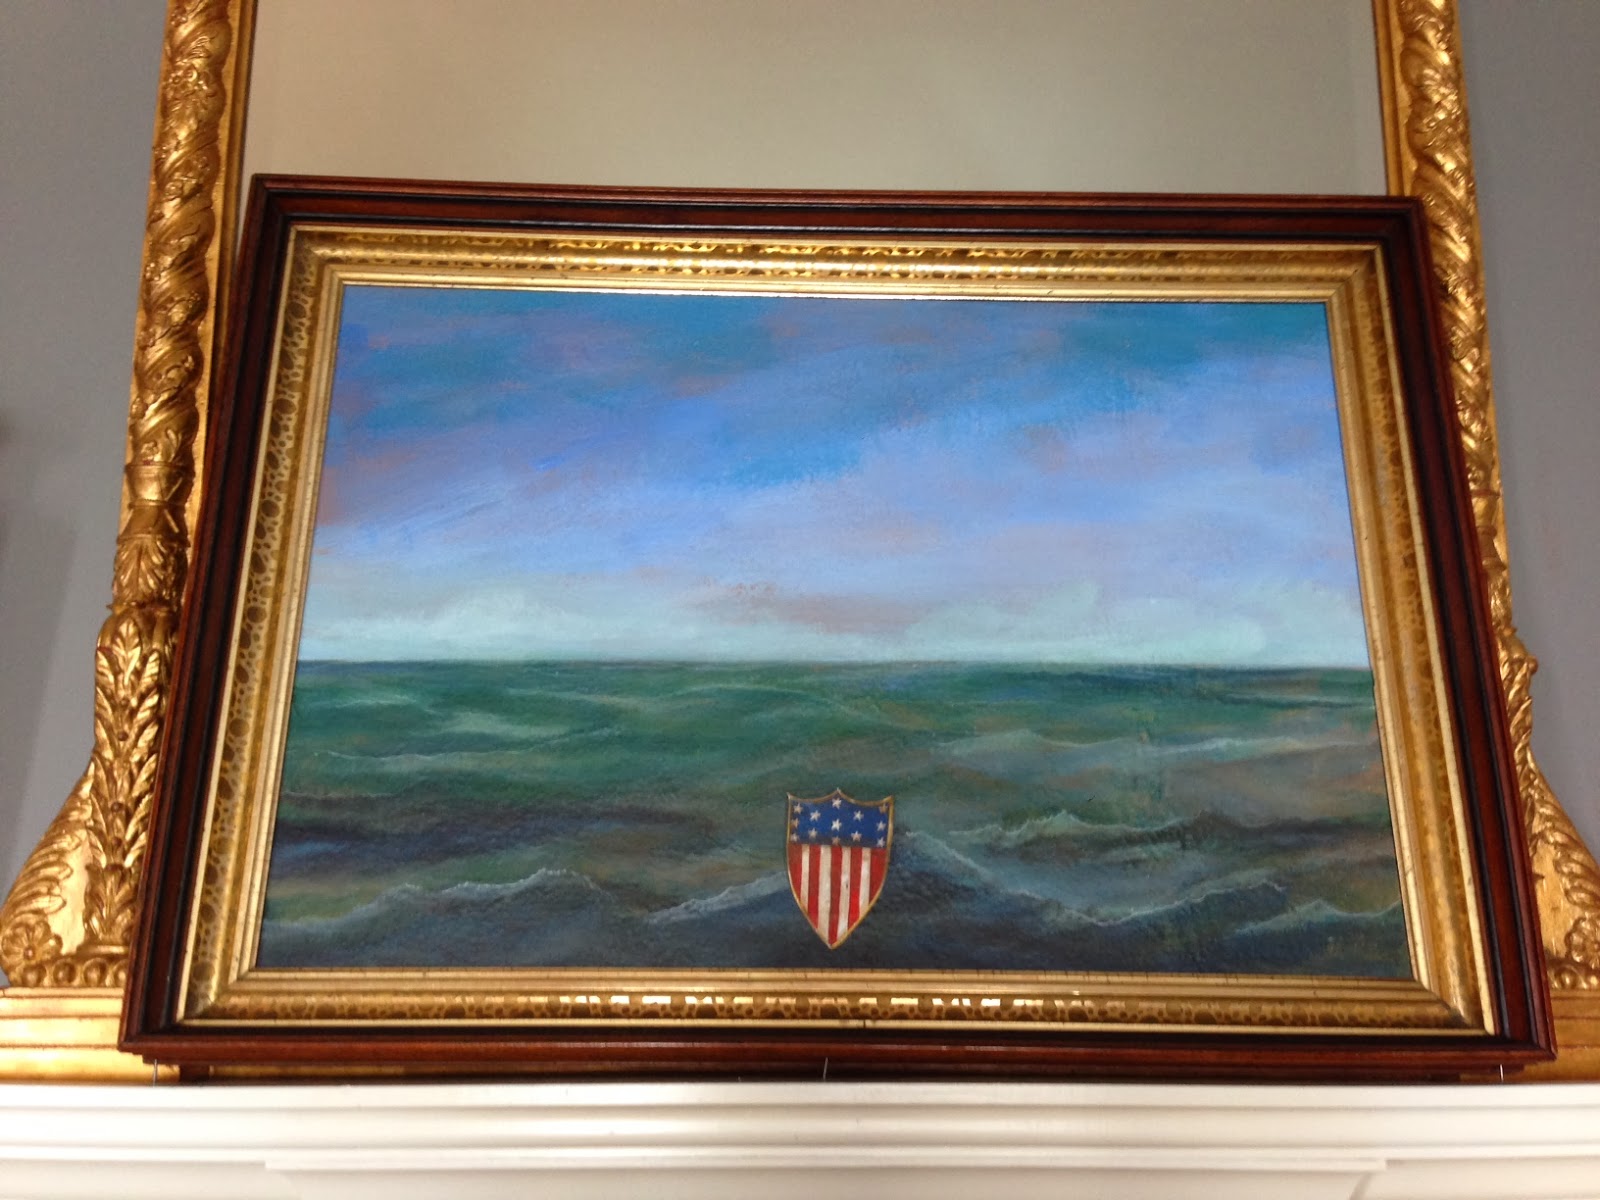
It's time to start putting in my drape and crest. I started with the crest. I drew it on another piece of paper first, laying it on the painting to make certain it wasn't too big. I don't want to have to try to paint something out. It's a lot of work. Speaking of that, I have a mermaid that needs fixed. I am going to do that VERY SOON. Check back.
So here's the crest I first drew with pencil:
 |
| (F) |
 |
| (G) |
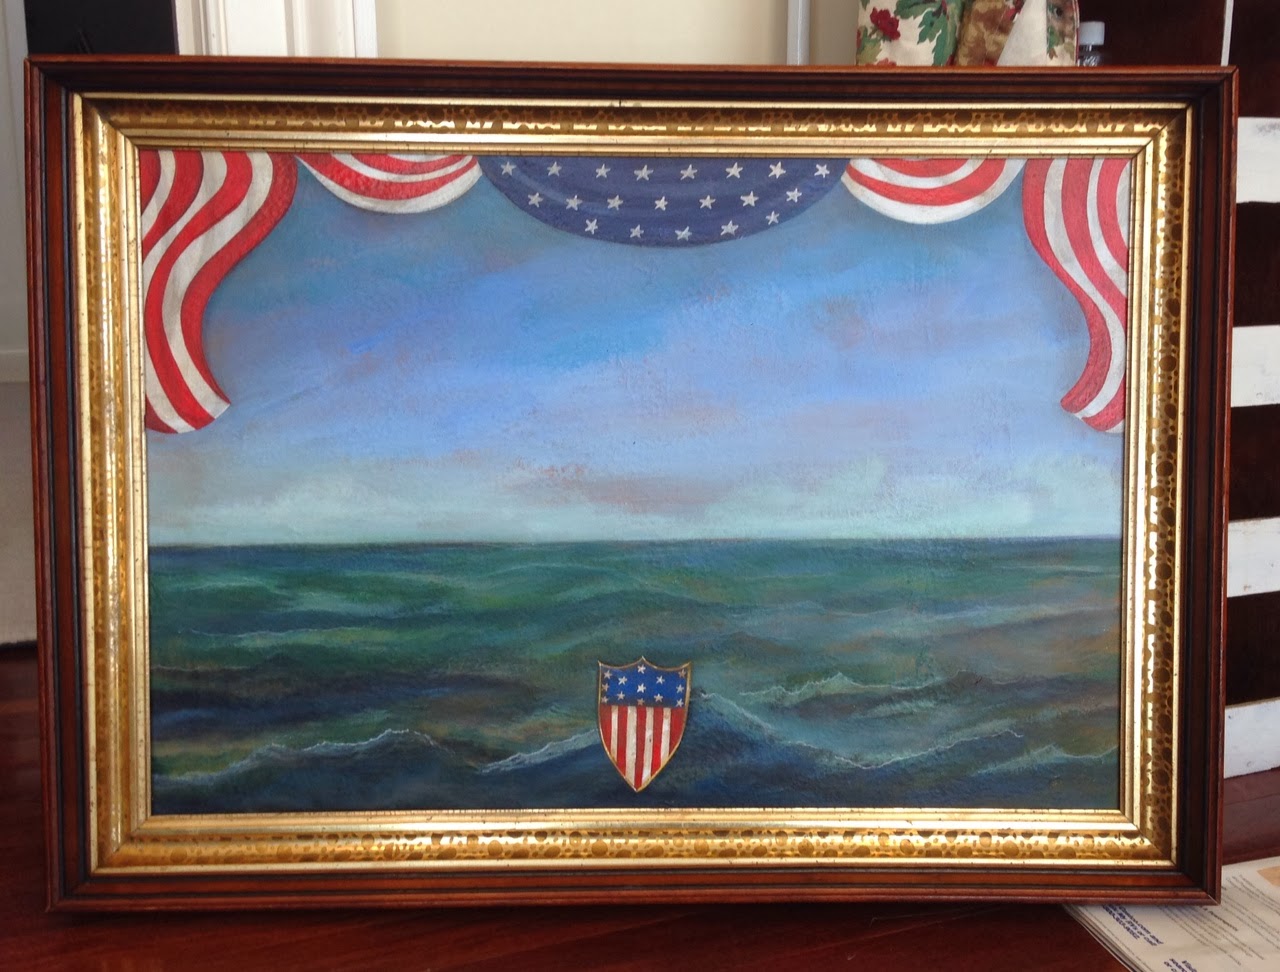
Finally, here is where we will stop for today. I went ahead and painted the flag in across the top. I think that it is looking very good. I love the richness of the sky and water against the frame. I love dressy antiques. I may have to keep this and add it to my kitchen collection (If I can find room).
Kitchen collection: (E)
 |
| (E) Kolene Spicher's Kitchen Ships Collection |
Well, I really appreciate your taking the time to read today's blog. Tomorrow, I will show you more!!!
Enjoy!


2 comments:
Hi Kolene, I really like you ship collection in your kitchen. Thanks for showing it.
You are welcome., thanks for looking. Tomorrow I'm posting the finished painting!
Post a Comment