Creating a Ship Painting from A to Z - The Finished Piece - Part 3
Up-close and Detailed Images of my Latest Painting

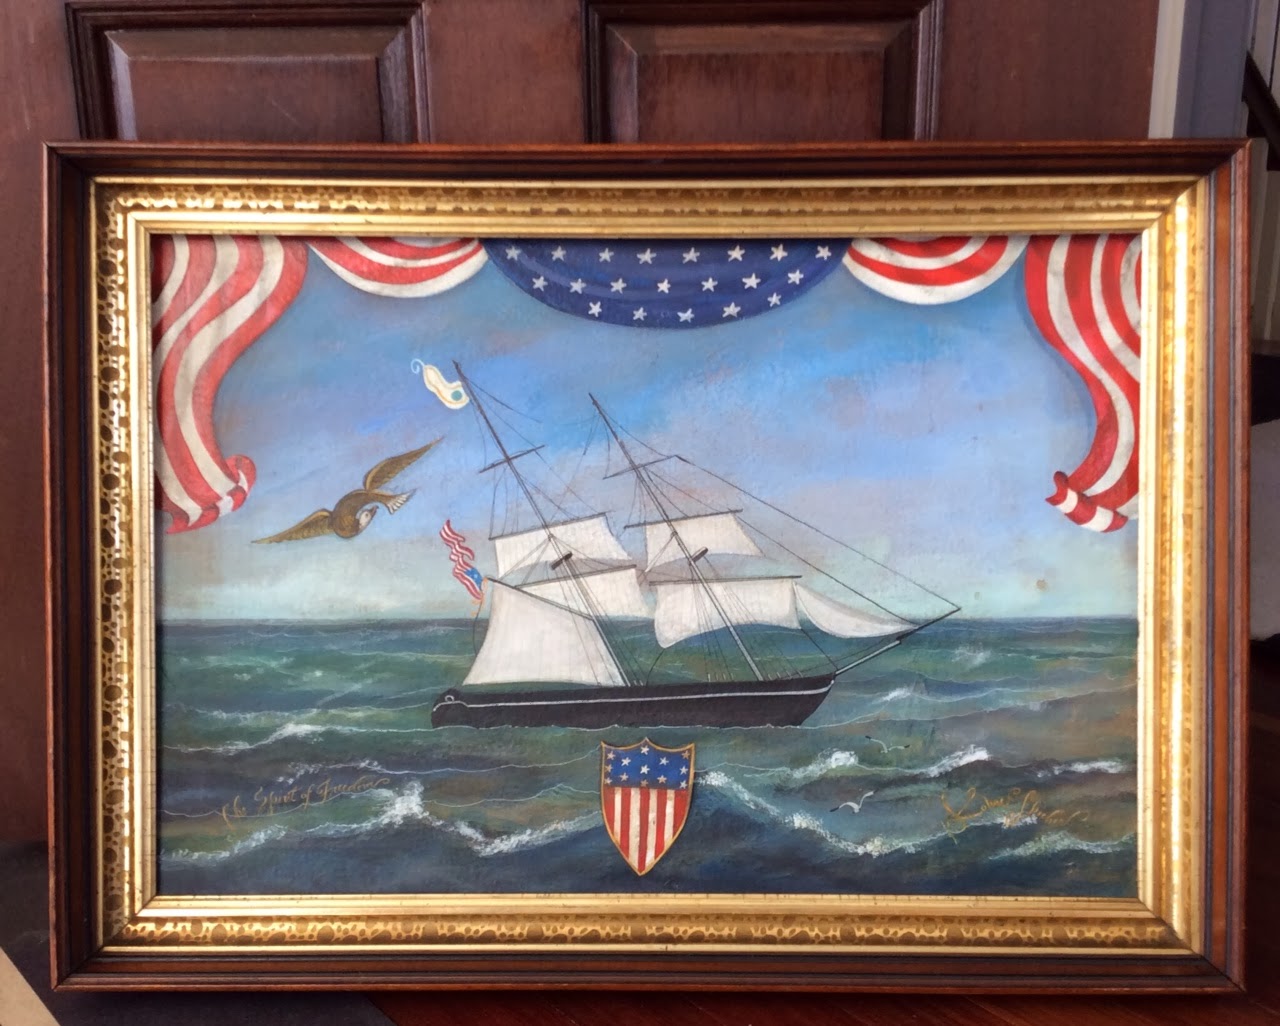
Well, here she is! There were a lot of steps in between Step 2 and this final piece, but I don't want it to get too long and boring so I am going to do the "Reader's Digest" version. When I finished it, I layed it on my crazy floor cloth (compliments of Spicher and Co.). It's a room sized floorcloth and made of vinyl so it's perfect for laying a wet canvas on because I can wipe any messed paint right up! That's Some Pennsylvania dutch for you!
 |
| I drew the ship out on the canvas using pencil |
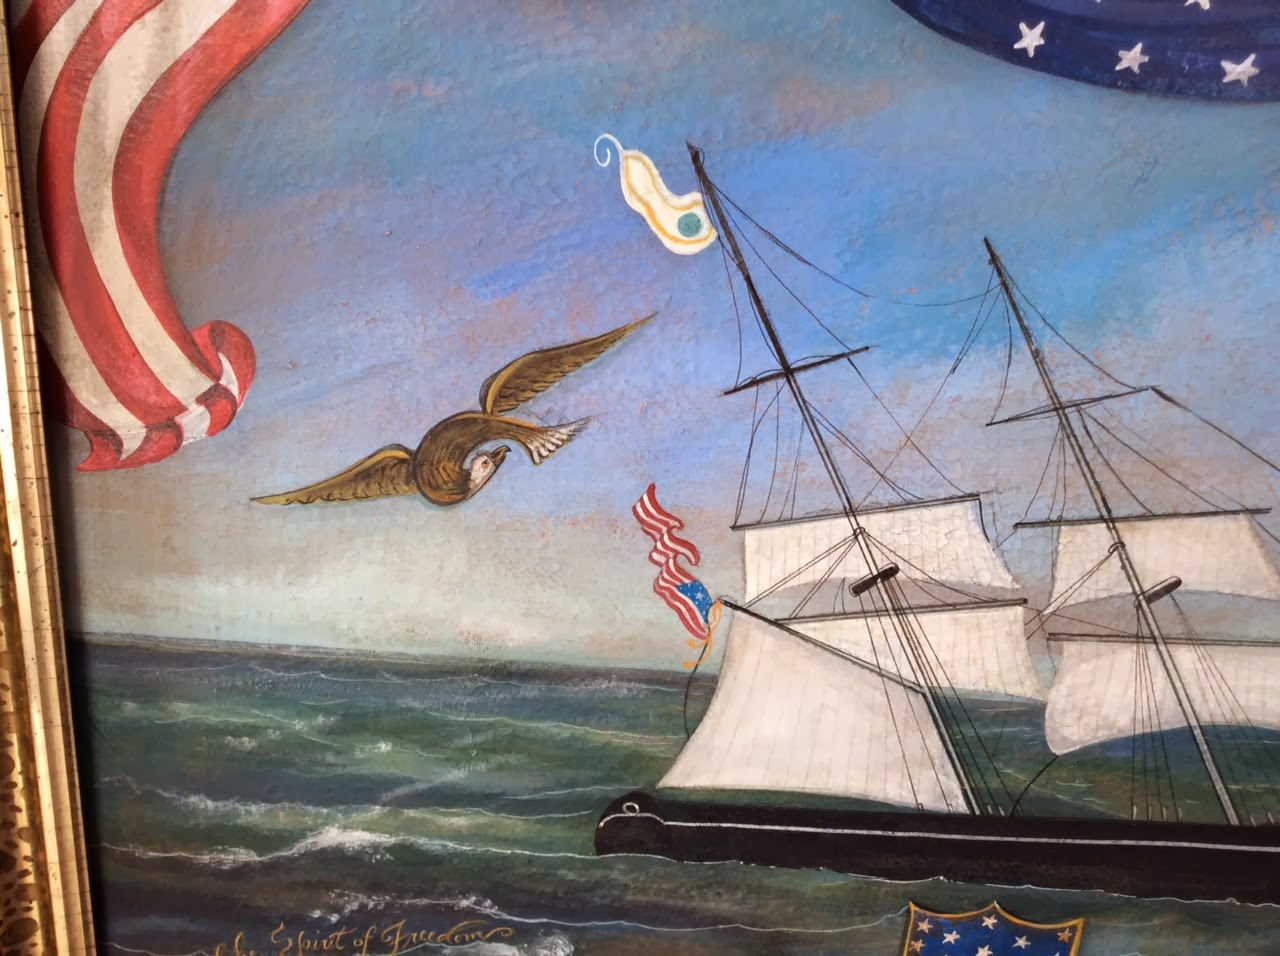 |
| The next step was to paint the eagle! |
Yes, I first drew it on another piece of paper. The last thing that I want is pencil marks (or worse eraser) on my antiqued canvas!
Look how the gold of the eagle picks up the fantastic gold-leaf of the liner in this wonderful deep walnut PERFECT frame from heaven. (Not really-just kidding).
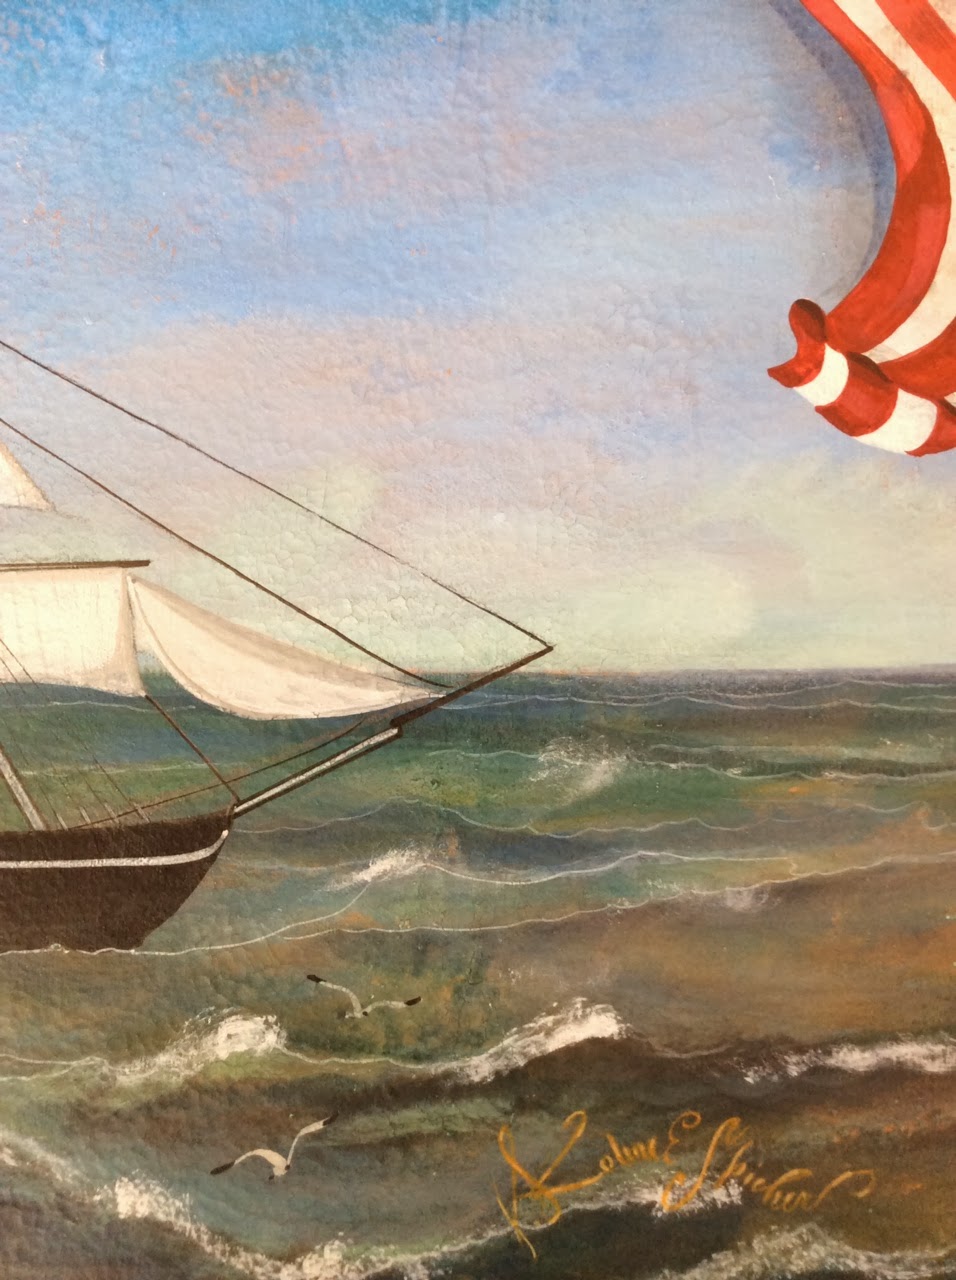 |
| I love the seagulls! |
Finally, when I am certain the canvas is dry, I might try an encaustic finish. MIGHT is the key word!
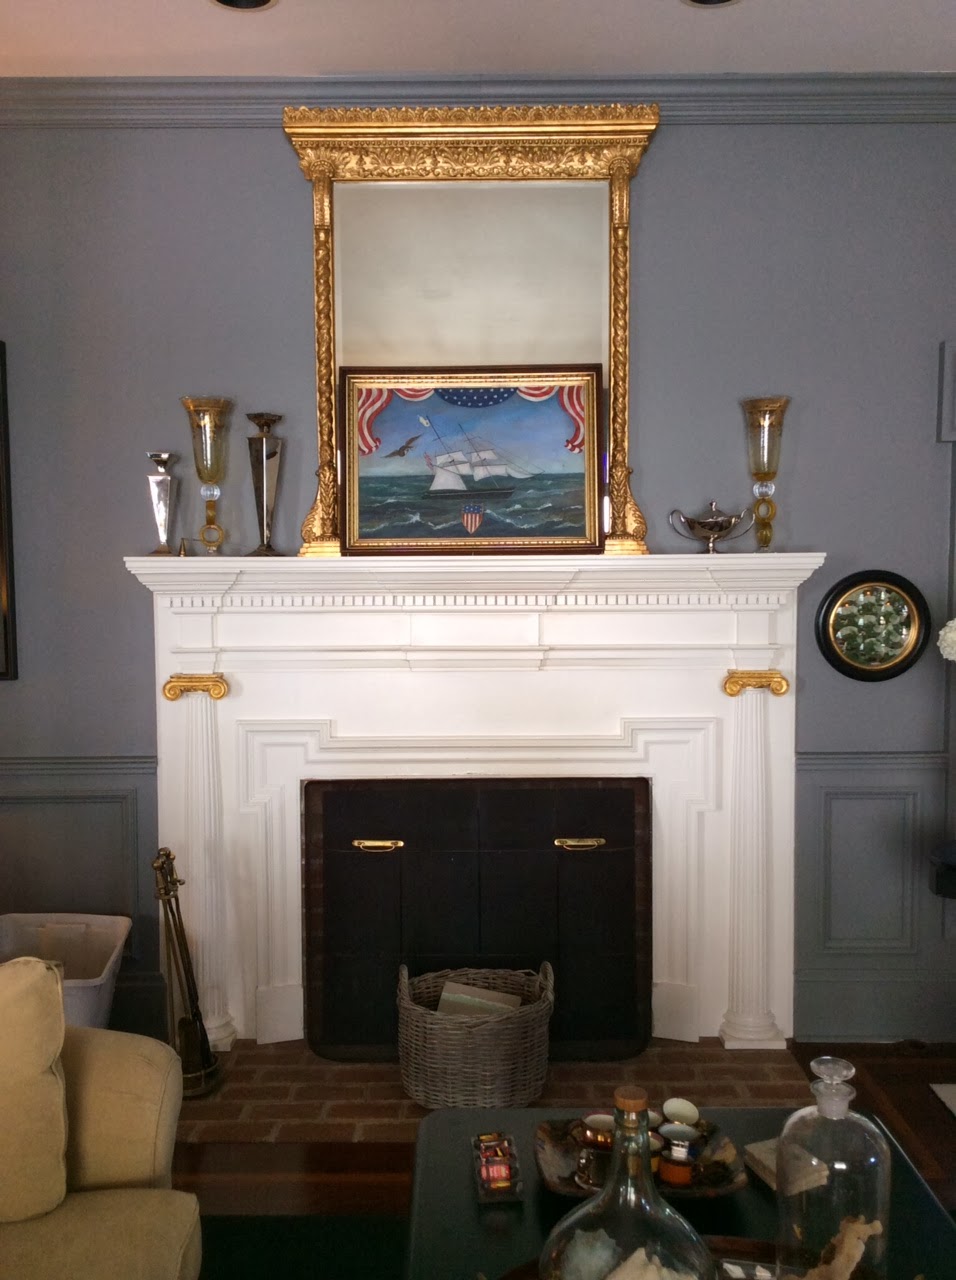
I simply have it propped up against my studio door so that I could see what it looked like. I wanted to know for my own information so that I could suggest (honestly) where this painting would look nice.
So you see, if you have contemporary furniture, my artwork, although 'antique' looks just fine. I appreciate your following this whole process. I am getting ready to paint cactuses. Yes, and they are really cute, too.

 |
| This is what this painting would look like hanging in a masculine office or library!! |
Here it is in my dressy living room.
 |
| Please forgive my UGLY white plastic box in the bottom left next to the couch. |
Thanks so very much for looking!!!
Enjoy!


2 comments:
Oh my Goodness! I love this piece! I also enjoyed your three part post detailing your creative process! Very interesting! Thank you Kolene!
~Kathy
Thank you, Kathy! It was really fun and makes the process very interesting for me because I am thinking about it from the viewer's perspective. Very nice of you to comment!
Post a Comment